The Ultimate Guide to Understanding and Choosing the Right Shampoo
This post focuses on the science and strategy behind choosing a shampoo that truly works for your hair. It goes beyond simple product recommendations to empower readers with knowledge.
Introduction:
-
Hook: Start with a relatable scenario, like the frustration of a “bad hair day” despite using an expensive shampoo.
-
Thesis: Introduce the idea that a great shampoo is a foundation for healthy hair, and the key is understanding your specific hair needs.
Section 1: The Anatomy of a Shampoo Bottle (and Why It Matters)
-
Key Ingredients Breakdown: Explain the purpose of core ingredients like surfactants (the cleaning agents), conditioning agents, and stabilizers.
-
Myth-Busting: Address common misconceptions, such as “sulfate-free” being the only good option or that more foam equals a better clean.
Section 2: Decoding Your Hair Type
-
The Big Four: Detail the characteristics of four main hair types: oily, dry, normal, and combination. Provide clear, simple tests or questions readers can ask themselves to determine their type.
-
Beyond the Basics: Expand to include hair texture (fine, medium, coarse), density (thin, thick), and scalp condition (sensitive, flaky, itchy). Explain why these factors are just as important as the primary hair type.
Section 3: Matching the Product to the Problem
-
Troubleshooting Common Hair Concerns: Create subheadings for specific issues and what to look for in a shampoo.
-
Dull Hair: Look for ingredients that add shine and moisture.
-
Frizzy Hair: Focus on hydrating and smoothing formulas.
-
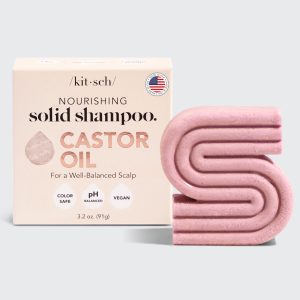
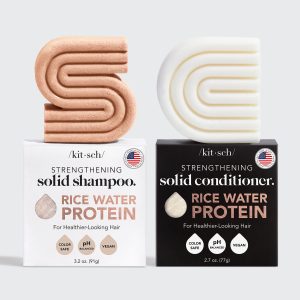
Color-Treated Hair: Explain why a color-safe formula is essential and what it does.
-
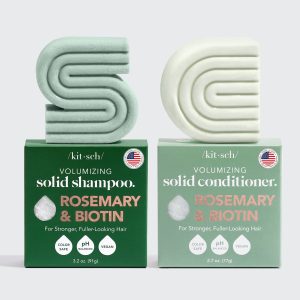
Thinning Hair: Discuss volumizing and strengthening ingredients.
-
Section 4: The Art of the Wash
-
Technique is Key: Don’t just talk about the product, but how to use it.
-
Frequency: How often should you wash your hair? (Hint: it’s not a one-size-fits-all answer).
-
Application: The right way to apply shampoo to the scalp, not just the lengths.
-
Rinsing: Why a thorough rinse is crucial.
-
Conclusion:
-
Summarize: Briefly recap the importance of understanding ingredients and hair type.
-
Call to Action: Encourage readers to be “hair detectives” and pay attention to what their hair is telling them.
Blog Post 2: Beyond the Basics: Elevating Your Hair Care Routine with Conditioners and Treatments
This post builds on the first, moving from the foundational wash to the crucial steps that follow. It’s about more than just conditioner; it’s about a holistic approach to hair health.
Introduction:
-
Hook: Start with the idea that shampoo is only half the battle. Many people miss out on the transformative power of the right conditioner and targeted treatments.
-
Thesis: Emphasize that these products are not just an optional step but a vital part of protecting, nourishing, and styling hair.
Section 1: The Essential Partner: A Deep Dive into Conditioners
-
The “Why”: Explain the core function of a conditioner—sealing the hair cuticle, replenishing moisture, and detangling.
-
Types of Conditioners: Differentiate between the main categories:
-
Rinse-Out Conditioners: The standard and most common type.
-
Leave-In Conditioners: Explain their purpose for added protection and styling ease.
-
Deep Conditioners/Hair Masks: Position these as an intensive treatment for when hair needs a boost.
-
Section 2: Choosing the Right Conditioner for Your Hair
-
Pairing with Shampoo: Advise readers to consider a matching conditioner from the same line, but also explain how to mix and match for specific needs.
-
Ingredient Focus: What to look for based on hair type (e.g., lightweight formulas for fine hair, rich butters and oils for dry hair).
Section 3: The Power Players: Specialized Hair Treatments
-
Hair Oils: Discuss the benefits of different oils (e.g., argan, coconut, jojoba) for adding shine, fighting frizz, and protecting ends. Provide tips on proper application.
-
Heat Protectants: Explain the science behind heat damage and why a heat protectant is non-negotiable before using styling tools.
-
Scalp Serums/Treatments: Shift the focus back to the scalp as the foundation of healthy hair growth. Discuss treatments for dryness, irritation, or thinning.
Section 4: Building Your Personalized Routine
-
Sample Routines: Provide a few examples of weekly routines for different hair types (e.g., a simple routine for normal hair, a more intensive routine for damaged or curly hair).
-
Frequency and Application: Give practical tips on how often to use each product and the correct way to apply them for maximum effectiveness.
Conclusion:
-
Final Thoughts: Reiterate that a great hair day is a result of a thoughtful, multi-step process.
-
Call to Action: Encourage readers to experiment and find the routine that makes them feel confident and their hair feel healthy.
The Magic of Curling Irons: Unleashing Your Inner Stylist
The Many Types of Curling Irons
Spring Curling Irons
Clipless Styling Wands
Tapered/Conical Wands
Other Specialized Curling Irons
- Bubble Wands: These are designed to create natural – looking, bouncy waves. The barrel of a bubble wand has a unique shape, often with rounded sections. When you wrap your hair around it, the result is a series of soft, tousled waves that resemble the look of hair that has been naturally waved by the ocean.
- Spiral/Coil Irons: If you’re a fan of tight, corkscrew – like curls, spiral or coil irons are the way to go. They can produce curls that range from very tight tendrils to looser spiral waves, depending on the specific design of the iron. This type of curl is often associated with a more youthful and playful look.
- Waving Irons: Waving irons are specifically made for creating loose, beach – style waves. They usually have a three – barrel clamp design. The barrels are engineered to heat evenly, which helps to create smooth, frizz – free waves. After using a waving iron, you can gently tousle your hair with your fingers to enhance the natural look.
- Ribbon Curlers: Ribbon curlers have a flat – shaped barrel. This design allows more hair to wrap around it at once, creating tight, ribbon – like spiral curls. The curls produced by a ribbon curler are often very defined and can add a touch of elegance and uniqueness to your hairstyle.
- Hourglass Irons: The hourglass – shaped wand is capable of producing a variety of curls. It creates tight curls in the middle of the hair strand and looser curls at the ends. Additionally, it can add significant volume to the hair, making it a great choice for those who want both curl and body.
Choosing the Right Curling Iron for You
Consider Your Hair Type
- Fine or Thin Hair: If you have fine or thin hair, you’ll want to avoid using a curling iron with a very high heat setting. This can quickly damage your delicate strands. Look for a curling iron with adjustable heat settings, and start with a lower temperature, around 160 – 180°C. A smaller barrel size, such as 0.75 – 1 inch, can also be beneficial as it will create more defined curls that can help add volume to your hair.
- Medium Hair: Medium – textured hair is relatively versatile when it comes to curling irons. You can experiment with different barrel sizes and heat settings. A medium – sized barrel, around 1 – 1.25 inches, paired with a heat setting of 180 – 200°C, can create beautiful, natural – looking curls.
- Thick or Coarse Hair: Thick or coarse hair often requires a higher heat setting to hold a curl. A curling iron that can reach up to 200 – 230°C may be necessary. Larger barrel sizes, such as 1.25 – 1.5 inches, can be great for creating loose waves or voluminous curls in thick hair. However, always make sure to use a heat protectant product to minimize damage.
Think About the Curl Style You Want
- Tight Curls: For tight, spiral curls, a smaller barrel curling iron is essential. Spring curling irons with smaller barrel diameters or spiral/coil irons are perfect for this look.
- Loose Waves: If you prefer loose, beachy waves, a larger barrel curling iron, such as a clipless wand or a waving iron with a wide barrel, will give you the desired result.
- Natural – Looking Curls: Tapered/conical wands or bubble wands are great for achieving natural – looking curls. Their unique barrel shapes create curls that mimic the way hair naturally waves.
Other Factors to Consider
- Material of the Barrel: As mentioned earlier, ceramic and tourmaline barrels are popular choices due to their even heat distribution and anti – frizz properties. Titanium barrels are also a good option as they heat up quickly and are durable. Avoid curling irons with metal barrels that are not coated, as they can cause more damage to the hair.
- Heat Settings: A curling iron with multiple heat settings gives you more control over the styling process. This is especially important if you have different hair types in your household or if you want to be able to adjust the heat based on the condition of your hair on a particular day.
- Ease of Use: Consider the design of the curling iron. Some people find spring – loaded curling irons easier to use because of the clamp, while others prefer the freedom of a clipless wand. If you’re new to using a curling iron, you may want to start with a model that has a simple, intuitive design.
How to Use a Curling Iron Like a Pro
Preparation is Key
- Wash and Dry Your Hair: Start with clean, dry hair. Wet hair can cause steam when exposed to the heat of the curling iron, which can damage the hair and create a frizzy texture. Use a good quality shampoo and conditioner suitable for your hair type.
- Apply Heat Protectant: Heat protectant products are essential when using a curling iron. They create a barrier between the heat of the iron and your hair, reducing the risk of damage. Spray a heat protectant evenly throughout your hair, focusing on the mid – lengths and ends. You can also use a heat – protectant serum or oil.
- Comb and Section Your Hair: Use a wide – tooth comb to detangle your hair thoroughly. Then, divide your hair into sections. This will make the curling process more manageable and ensure that each section gets evenly curled. You can use hair clips to keep the sections separate.
The Curling Process
- Heat Up the Curling Iron: Set the curling iron to the appropriate heat setting for your hair type. Let it heat up fully. Most curling irons will have an indicator light to show when they are ready to use.
- Choose Your Curl Direction: Decide whether you want to curl your hair inwards (towards your face) or outwards (away from your face). Inward curls can make your face look smaller, while outward curls can add more volume. You can also alternate the direction of the curls for a more natural look.
- Take a Section of Hair: Take a small to medium – sized section of hair, about 1 – 2 inches wide. The width of the section will depend on the thickness of your hair and the size of the curl you want. Thicker sections will result in larger, looser curls, while thinner sections will create smaller, more defined curls.
- Wrap the Hair Around the Barrel: Starting at the root, wrap the hair around the barrel of the curling iron. If you’re using a spring – loaded curling iron, place the hair under the clamp and close it gently. For a clipless wand, carefully wrap the hair around the barrel, holding it in place for a few seconds. The longer you hold the hair in place, the tighter the curl will be.
- Release the Curl: After holding the hair for the desired amount of time, slowly release the curl. If you’re using a spring – loaded curling iron, open the clamp and let the hair fall gently. For a clipless wand, unwind the hair carefully.
- Repeat the Process: Continue curling each section of hair until you’ve completed your entire head. Remember to keep the sections consistent in size and the curling time the same for a uniform look.
Finishing Touches
- Cool Down the Curls: Let the curls cool down naturally for a few minutes. This will help set the curl and make it last longer. Avoid touching the curls too much while they’re still warm, as this can cause them to lose their shape.
- Apply Hairspray: Once the curls have cooled, you can apply a light mist of hairspray to hold the style in place. Hold the hairspray about 8 – 10 inches away from your head and spray evenly over the curls. Be careful not to use too much hairspray, as this can make your hair look stiff and unnatural.
- Tousle the Curls: For a more natural, beachy look, you can gently tousle the curls with your fingers. This will break up the defined curls and give them a more relaxed appearance.
Maintaining Your Curling Iron
Cleaning
- Regular Cleaning: After each use, allow the curling iron to cool down completely. Then, use a clean, damp cloth to wipe down the barrel. This will remove any product build – up, such as hairspray or styling gel, that may have accumulated on the surface.
- Deep Cleaning: Periodically, you may need to do a deeper clean. You can use a specialized curling iron cleaner or a mixture of warm water and mild dish soap. Dampen a cloth with the cleaning solution and gently scrub the barrel. Make sure to rinse the cloth thoroughly and wipe away any soap residue.
- Cleaning the Clamp (if applicable): If your curling iron has a clamp, make sure to clean it as well. Use a small brush, such as an old toothbrush, to remove any hair or product that may be stuck in the hinge or the clamp mechanism.
Storage
- Let it Cool Completely: Always let the curling iron cool down completely before storing it. This will prevent any potential fire hazards and also help to prolong the life of the appliance.
- Store in a Safe Place: Keep your curling iron in a safe, dry place where it won’t be knocked over or damaged. You can use a storage case or simply place it in a drawer. If you have children or pets in the house, make sure to store the curling iron out of their reach.
- Avoid Tangling the Cord: When storing the curling iron, try to keep the cord neatly coiled. Avoid wrapping the cord tightly around the barrel, as this can cause the cord to fray or break over time.
Safety Precautions
- Never Leave Unattended: Never leave a hot curling iron unattended. Even if you’re just stepping away for a few seconds, it’s important to turn it off and unplug it.
- Keep Away from Flammable Materials: Make sure to keep the curling iron away from flammable materials, such as towels, curtains, or hairspray cans. The high heat of the curling iron can ignite these materials and cause a fire.
- Use Caution Around Water: Avoid using a curling iron near water. Even if the curling iron is turned off, the presence of water can create a risk of electric shock. If you’re using the curling iron in a bathroom, make sure to unplug it and move it away from the sink or shower area.
https://www.amazon.com/Hair-Automatic-Temperature-Anti-Scald-Anti-Tangle/dp/B0D66W5CQ2/ref=sr_1_3?crid=3FZFG5YVXLLR8&dib=eyJ2IjoiMSJ9.i76kLp0I6YVJ5mboXnjamSdhN2vwa284vbN56DR284T8FMqkoFJtrPsu-3Lw_g_9ToWVkw7_nh69Cgtxau1jeyly-XrdwaJg_9fIW7farEtHLckFRyUJb2vLcSA6NGSQ5IClQDVXsnx90pgLiIJCFli43XRC24TNsZEqZPpnCCQ-e-jXSqZnmPXqBv_jHmSXKiwxihMDT2-k8NYZxZK4Og-ra__eHnmpL_CNpvpwpFQyQ156G6ki5W-9xT_XhvGsRx0TMUHcQ8hiBQwzPSUjAp-YgnyvokcqQGAjoDd-1mM.s6fPd9vdTgv2HAzTQb04E79BBpfHlOKSKeTa06sl28Q&dib_tag=se&keywords=%E5%8D%B7%E5%8F%91%E6%A3%92&qid=1755758866&sprefix=%2Caps%2C282&sr=8-3&th=1
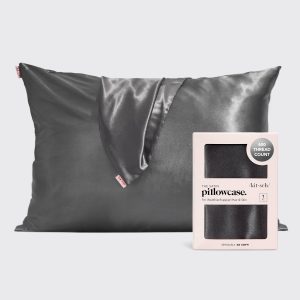
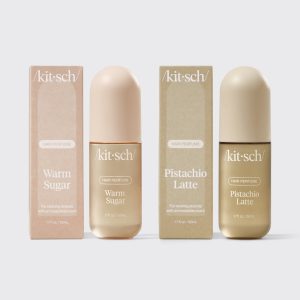
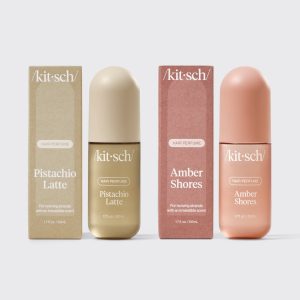
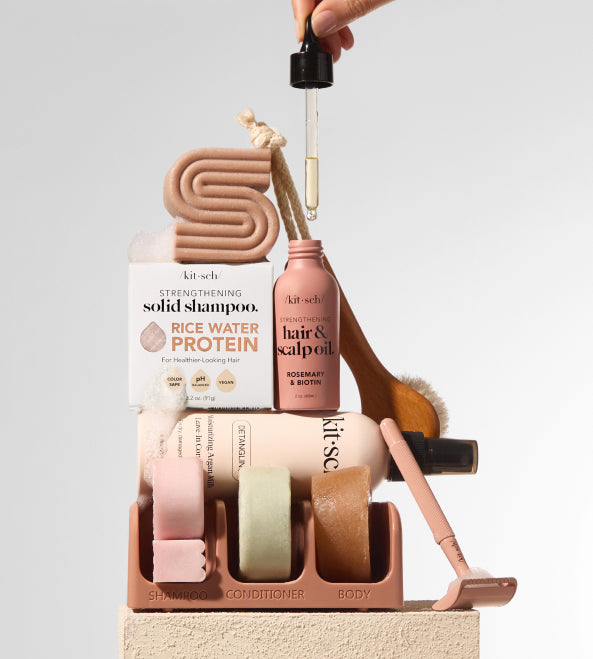
SUMMER ESSENTIALS
Summer is not over yet!
Pack your favorites and keep the sunny mood going
SHOP NOWbest sellers
Best Sellers

Best Sellers
Best Sellers
Best Sellers
Best Sellers
Best Sellers

Best Sellers
Best Sellers

Best Sellers
Best Sellers
Best Sellers
Best Sellers
Best Sellers

Best Sellers

Best Sellers
Best Sellers
Best Sellers
Best Sellers
best sellers

Best Sellers
Best Sellers
top collections
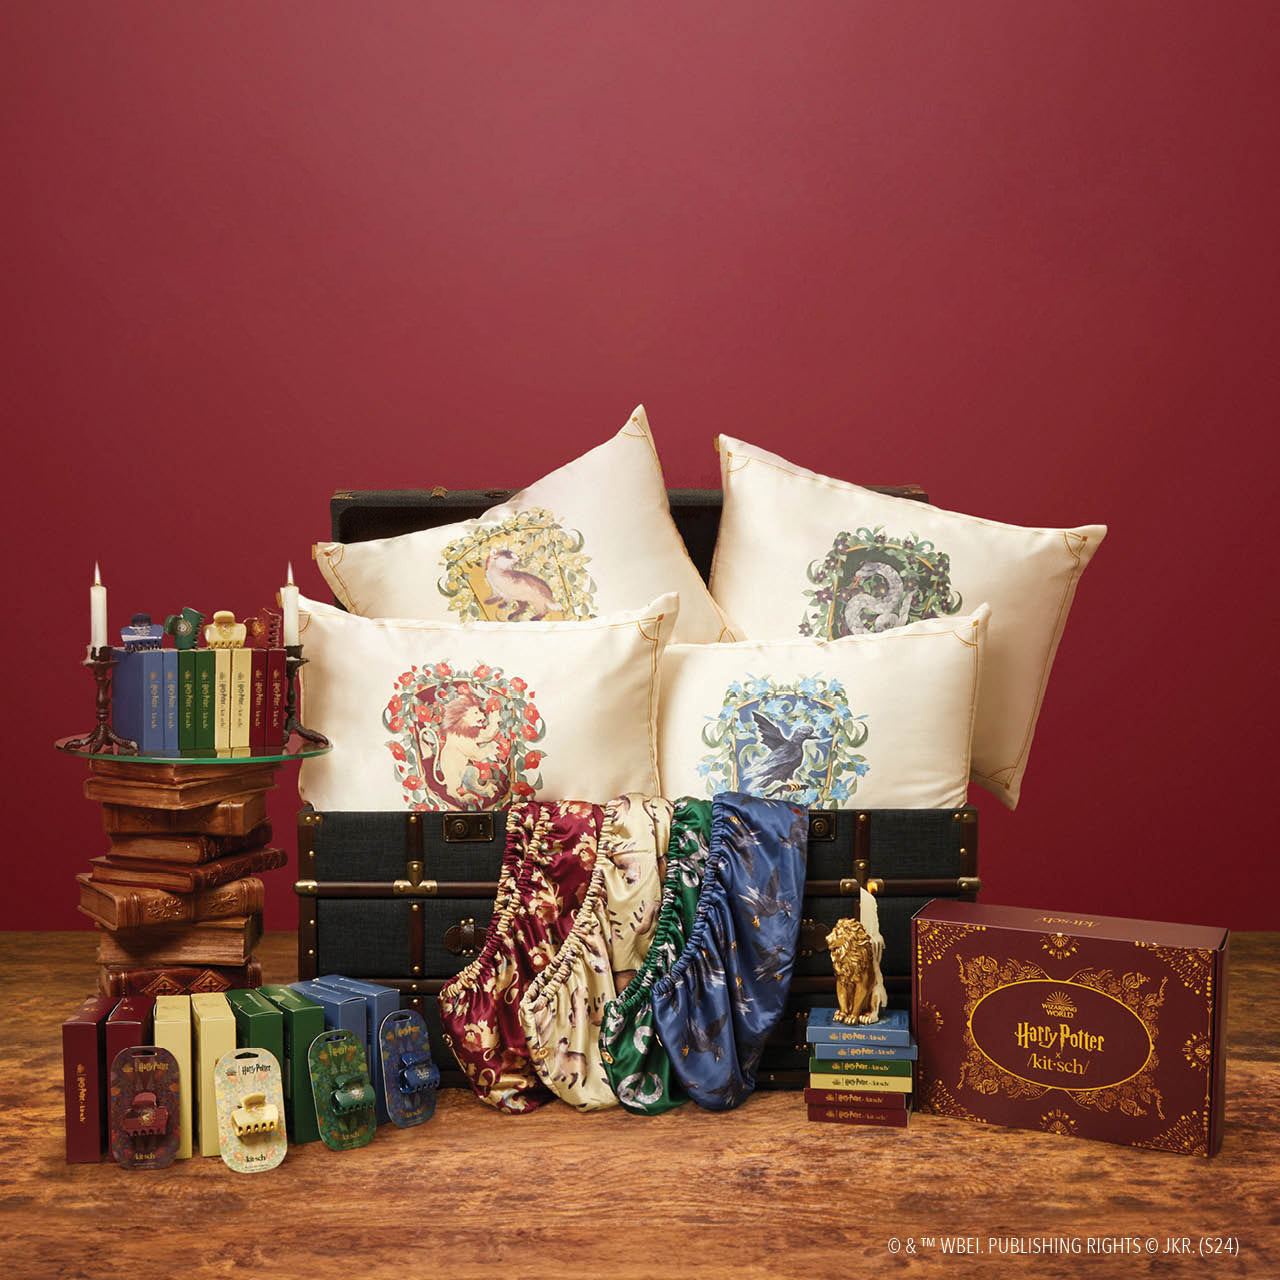

Collections


Collections
The Feeling Is Mutual
Our Story
Founded by Wisconsin native Cassandra Thurswell at the age of 25,Kitsch is a global beauty powerhouse built on positivity and pure hard work. The brand supports its growing community with easy, elevated beauty
solutions that are totally reliable,truly special, and made as sustainably as possible. Beginning in 2010 with a business plan no longer than a paragraph, Kitsch now supplies a full range of beauty favorites in over 20,000
retail locations worldwide. A prominent entrepreneur featured in Forbes and Inc., Cassandra continues to create elevated, sustainable
beauty solutions for every moment of the day.
top collections
what’s new
Collections
The Feeling Is Mutual
Our Story